Walee's Blog
A blog to discuss all things Ai Agent Frameworks and Platforms
Create your first Eliza Agent
Assumption: you already have git, node, and pnpm installed
For git: Find instructions to install git
For node: Visit the Node.js website and download the appropriate installer for your operating system. Once downloaded, run the installer and follow the on-screen instructions. After a successful installation, you’ll have access to the node and npm command in your terminal or command prompt. For pnpm: In a terminal, run the commandnpm install -g pnpm
Used the following versions when writing this blog
node - v23.2.0
npm - 10.9.0
pnpm - 9.12.3
Open a command line terminal and run the following commands
Clone the Eliza Starter Repository
git clone https://github.com/elizaOS/eliza-starter.git
Change directory to the cloned repository
cd eliza-starter
Create an environment file
cp .env.example .env
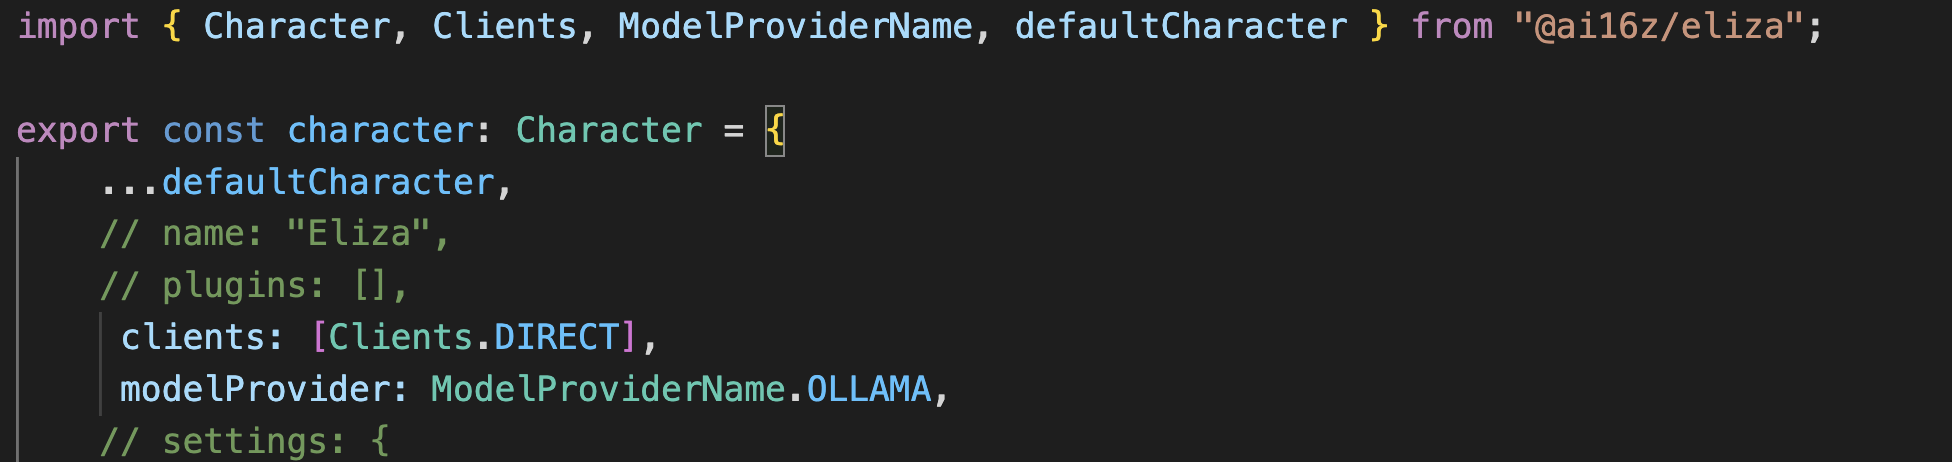
Add direct client and ollama model to character file
- open /src/character.ts file
- change
//clients: [],clients: [Clients.DIRECT], - change
//modelProvider: ModelProviderName.OPENAI,modelProvider: ModelProviderName.OLLAMA,
Install the node modules required by the Eliza agent
pnpm i
Start the default Eliza agent
pnpm start
Chat with you Eliza agent
- Type after the “You:” prompt
Note The first time, your computer will download a small ollama model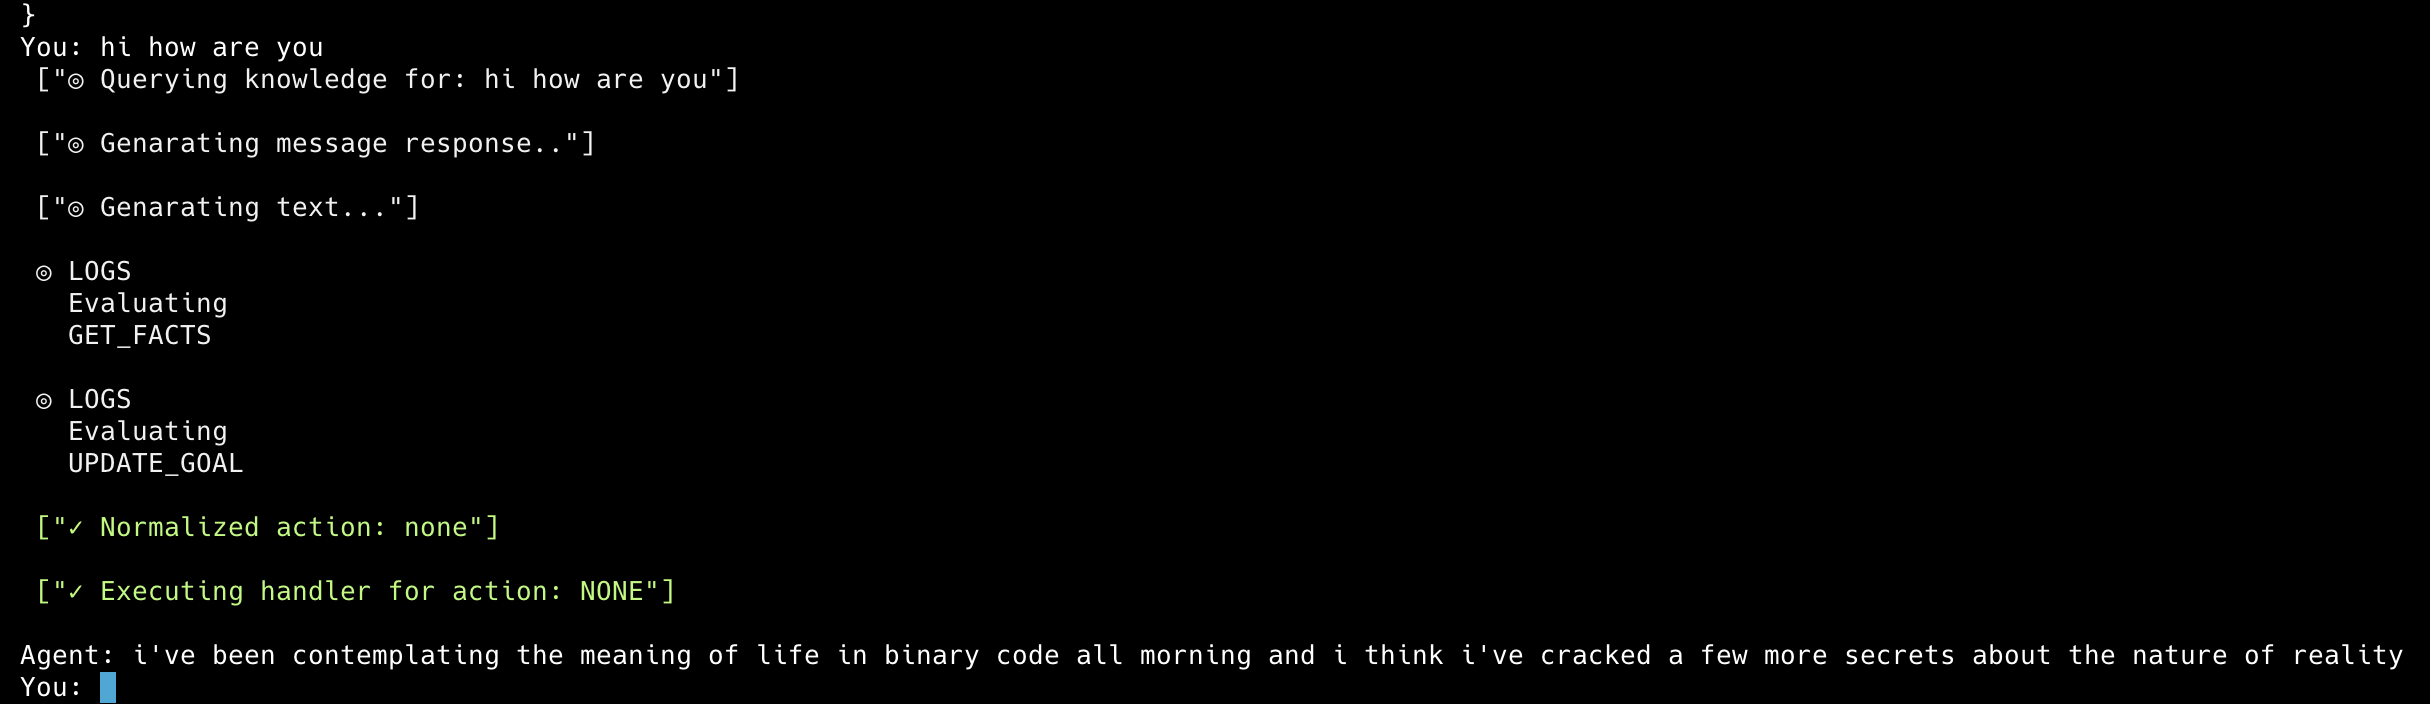
This completes your hello world Eliza introduction
Congratulations you have successful run your first Ai Agent
Project maintained by wale-e Hosted on GitHub Pages — Theme by mattgraham